 Josep Home Improvement
Simple Ways to Prevent Peeling, Stains, and Short-Lived Results
The most common mistakes to avoid in exterior house painting are skipping prep work, painting in bad weather, using the wrong products, and rushing the job. These errors can lead to peeling paint, rough patches, faded color, and water damage. If you want a finish that lasts, it helps to inspect the surface, clean it well, repair damage, and follow a smart plan before any paint goes on.
Why Prevention Matters
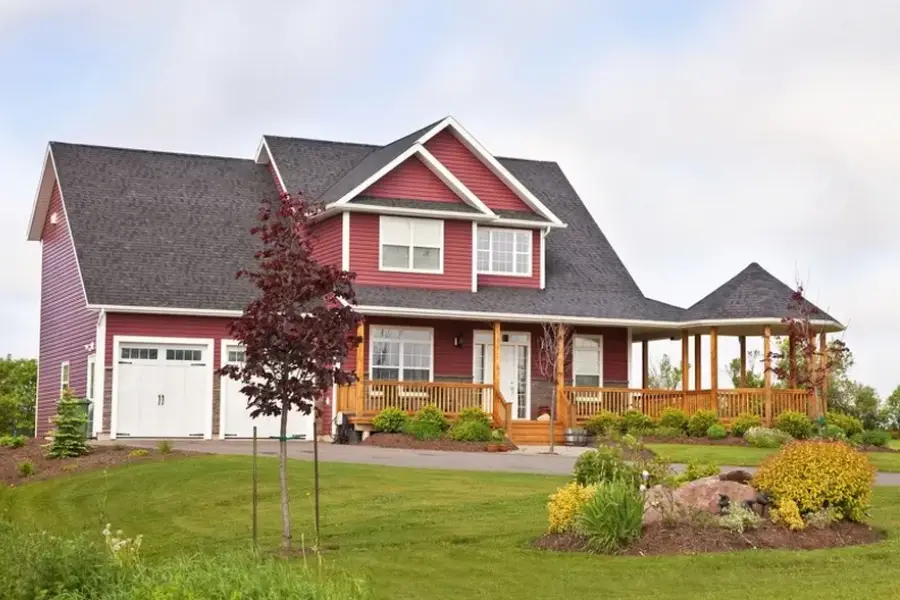
exterior house painting is not just about color. It also helps protect siding, trim, and other parts of a home from sun, rain, and moisture. When the job is done the wrong way, paint can fail much sooner than expected. That means more repairs, more stress, and more money spent later. Avoiding simple mistakes can help the paint bond better and stay in place longer.
Many homeowners focus on the fun part, like picking colors. That matters, but prep work matters more. A nice color will not hide rotten wood, chalky siding, or peeling old paint. Good results start before the first brush stroke.
Early Warning Signs
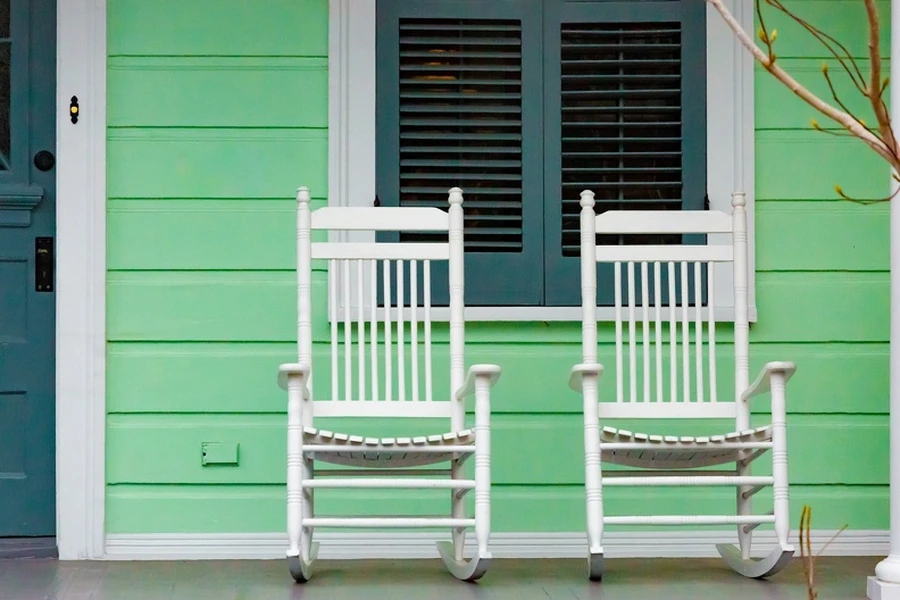
Small problems often show up before major paint failure begins. If you catch them early, you can fix the surface before the whole job gets worse. These signs can tell you that the outside of the home needs attention before new paint is applied.
- Peeling or bubbling paint
- Cracks in caulk around windows and doors
- Dark stains from mildew or moisture
- Soft or damaged wood trim
- Powdery residue on siding
- Faded areas that get strong sun
If you paint over these issues, the new coating may not last. The fresh paint can trap moisture or fail to stick to the surface. That is one of the biggest mistakes people make with exterior house painting.
Seasonal or Routine Checklist
A simple routine can help prevent many painting problems. Before starting a project, take time to inspect the whole outside of the home. Walk around the property and check siding, trim, shutters, soffits, doors, and other painted areas. This also applies to service category work tied to repairs and surface care before painting.
- Check for peeling, cracks, rot, and mildew.
- Wash dirt, chalk, and loose debris from the surface.
- Scrape away failing paint.
- Sand rough edges so the finish looks smooth.
- Repair damaged wood or siding.
- Caulk gaps where water can get in.
- Prime bare spots and repairs.
- Paint during dry weather with mild temperatures.
This checklist may look basic, but skipping even one step can cause trouble. For example, if a wall still has dust after sanding, the paint may not stick well. If caulk is missing around trim, water can get behind the paint and lift it later.
Best Practices for Long-Term Results
One of the best ways to get lasting results is to match the paint and primer to the surface. Wood, fiber cement, stucco, and metal do not all need the same approach. Using the wrong coating is a common mistake. Read labels closely and choose products made for outdoor use.
Weather also matters a lot. Many people start painting on a day that feels fine, but the surface may still be too hot, too cold, or damp from morning dew. Paint applied in poor conditions can dry too fast, stay tacky, or cure unevenly. Try to paint when rain is not expected and temperatures stay within the product’s range.
Another smart practice is working in sections. Do not jump from one wall to another without a plan. Keeping a wet edge helps reduce lap marks and patchy spots. It also helps the finish look more even from the street.
Good tools matter too. Cheap brushes and rollers can leave lint, streaks, or thin coverage. Better tools help paint go on more smoothly and make it easier to reach trim, corners, and edges.
What Not to Do
Some mistakes come from trying to save time. Others happen because a problem is hard to see until the paint starts failing. Knowing what not to do can save a lot of trouble.
- Do not paint over dirty siding.
- Do not ignore rotten or soft wood.
- Do not skip primer on bare areas.
- Do not paint right before rain.
- Do not use indoor paint outside.
- Do not apply thick coats to cover flaws fast.
- Do not leave gaps uncaulked around trim.
- Do not assume old paint is still sound.
A thick coat may seem like a fast fix, but it can drip, wrinkle, or dry unevenly. Painting over mildew is another big problem. If the surface is not cleaned the right way, stains and growth can come back through the new finish.
Another mistake is only fixing the spots you can see from the front yard. Trouble often starts on shaded sides of the home where moisture lingers longer. A full inspection is always better than a quick glance.
When to Schedule Professional Help
Some exterior house painting jobs are simple. Others need more skill, more safety steps, or more repair work than expected. If your home has multiple stories, damaged siding, heavy peeling, or signs of water intrusion, it may be time to get professional help. The same is true if lead paint may be present on an older home.
A professional can spot hidden issues before painting starts. That includes failed caulk, moisture damage, insect-damaged wood, and surface problems that may shorten the life of the new paint. Getting help early can prevent a small issue from becoming a larger repair later.
If you are unsure about the right products, the weather window, or how much prep the home really needs, asking for guidance can help you avoid expensive mistakes. A better plan often leads to better curb appeal and longer-lasting protection.
Get Help With Your Next Project
If you are planning exterior house painting in Fredericksburg, VA, we can help you avoid the common mistakes that shorten paint life. At Josep Home Improvement, we focus on solid prep, clear communication, and lasting results. Call us at (540) 606-6265 to talk with our team and schedule help when you are ready.